Painting a ceiling can completely transform the look and feel of a room. A freshly painted ceiling brightens up your space, hides imperfections, and adds to the overall finish of your home. While many homeowners take on walls or trim themselves, the ceiling can feel like an intimidating project. That’s why hiring an interior house painter is often the most efficient option. Still, if you’re considering a DIY approach, here are some steps and Harmony Pro Painter Tips to guide you.
Step 1: Prep the Room
Before you even open the paint can, preparation is key.
Remove or cover furniture with plastic sheeting.
Lay down drop cloths to protect your flooring.
Use painter’s tape to mask edges where the ceiling meets the walls.
Harmony Pro Painter Tip: Don’t skip cleaning. Dust, cobwebs, and even smoke residue can keep paint from sticking properly. A clean ceiling makes for a smoother finish.
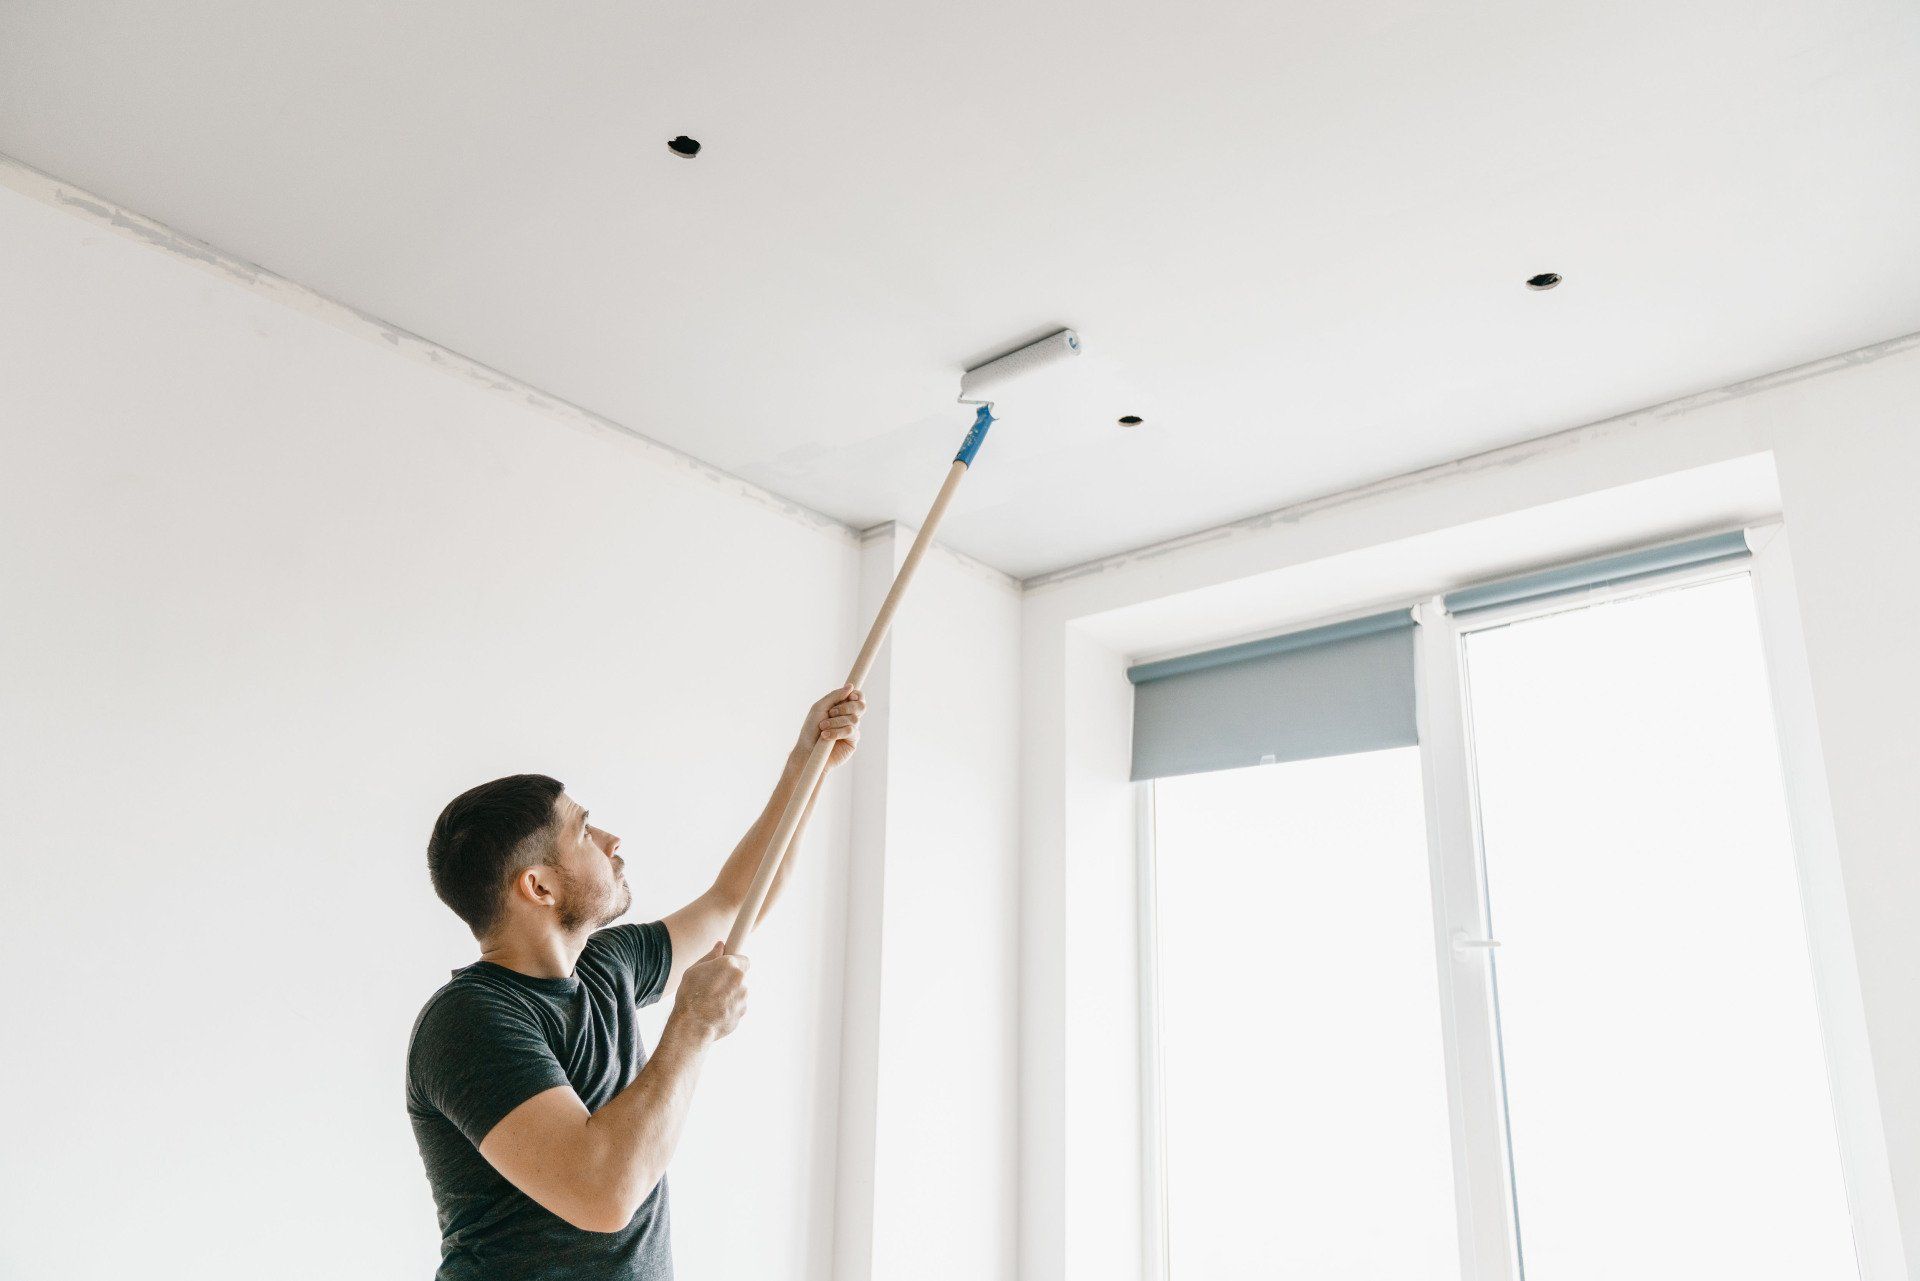
Step 2: Choose the Right Paint and Tools
Ceilings require a different approach than walls. Most painters use a flat, matte finish to hide imperfections.
Look for paint labeled specifically for ceilings—it tends to drip less.
Use a roller with an extension pole so you’re not constantly climbing up and down a ladder.
Harmony Pro Painter Tip: Choose a roller cover with 3/8" to 1/2" nap. Too thick, and it will spatter; too thin, and it won’t cover evenly.
Step 3: Prime If Needed
If your ceiling has water stains, smoke discoloration, or a darker existing color, priming first is essential. A good primer helps block stains and creates a uniform surface for paint to adhere to.
Harmony Pro Painter Tip: Spot-prime stubborn stains with a stain-blocking primer before rolling out the full coat.
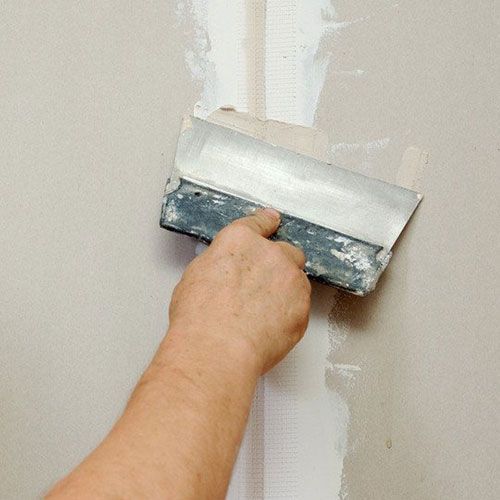
Step4: Use the Right Technique
Start by cutting in the edges with a brush, then roll the main surface in sections. Work in small areas (about 3 feet by 3 feet).
Keep a wet edge to avoid lap marks.
Overlap your strokes in a “W” pattern for even coverage.
Harmony Pro Painter Tip: Always roll toward the light source (like a window). This helps reduce the appearance of roller marks once the paint dries.
Step 5: Apply a Second Coat (If Necessary)
Once the first coat dries, evaluate the coverage. Ceilings often need a second coat, especially if you’re covering stains or applying a lighter shade over a darker base.
Harmony Pro Painter Tip: Resist the urge to overwork your roller—light, even strokes give the cleanest result.
Painting your ceiling may seem straightforward, but it can be one of the trickiest parts of a painting project. Between the prep, priming, and proper technique, it’s easy to end up with drips, streaks, or sore arms. That’s why so many homeowners choose to bring in an interior house painter to get the job done right.
At Harmony Painting, our team has the tools, experience, and know-how to give you a fuss-free ceiling that looks flawless. Whether you’re refreshing a single room or updating your entire home, we’re here to help you bring harmony to your space.
Book your Free Estimate Today
515-210-7663